
Tips for Holiday Baking with Children
Winter is a great time for baking; there tends to be a little holiday free time, baked goods make great gifts, and the oven makes the house just a little warmer. Most children, at almost any age, will enjoy helping you in the kitchen. With a little deep breathing and careful planning, holiday baking can be a memory-making experience.
As you choose your recipes, consider the ages of your helpers. If your children are younger, you might stick with simple recipes you know well. Eager little hands can make the vagaries of a tricky or unfamiliar recipe a terrific frustration. Older children who already know some kitchen magic can be perfect partners for more difficult tasks; they are often more forgiving of disasters than adults. Whatever their ages, let them help choose the recipes whenever possible; you will have more willing hands if they have had their say in the baking menu.
Everyone will enjoy baking more if you have already assembled the ingredients. We all know how frustrating it can be to have the cookie dough almost ready and then realize there are no eggs. Take the time to go through the recipes you have chosen to make a shopping list. In our family, the whole holiday baking process might occur over a week or two, as we snatch time here and there to get together our recipes, shopping list, and ingredients. If you plan for this, ingredients can be part of your regular shopping list. Most of us don’t want to make another trip to the grocery store if we can help it.
On the baking day, give yourself enough time for whatever recipe you’ve chosen. Children, even teenagers, are better helpers when they are not harried or hurried by the next event on the schedule. Allow extra time if you have younger helpers; most recipes will take longer with children younger than about seven. However, if you let them help you when they make things slower, they will be excellent helpers later. And by the time they are twelve or thirteen, you might get to enjoy the fruits of their independent labors.
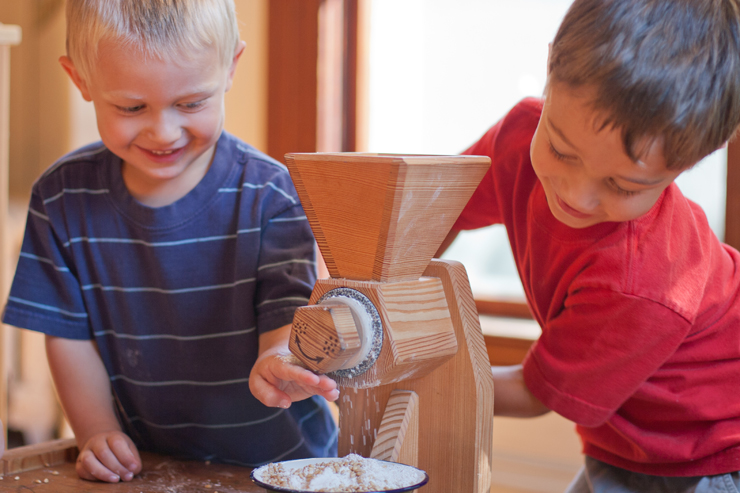
Grinding your own grain is one way to involve kids in the process, as with our Farina Grain Mill. Children especially enjoy turning the crank and seeing the milled grain flow into a bowl. You can also control the grind, making it finer or coarser as you prefer. Plus, freshly ground grain tastes so much better!
The following recipe is for a simple loaf of bread. Baking bread can include anyone who is willing, because there is more art than precision in the process.

A Loaf of Fresh Baked Bread
Ingredients
1 1/2 cups Whole Wheat Flour
1 1/2 cups All-Purpose Flour
2 Tablespoons Butter
2 Teaspoons Salt
1 Cup Warm Water
1 Package Instant Yeast (2 1/4 Teaspoons)
1 Tablespoon Honey
Instructions
- Measure flours and salt into bowl and mix to combine.
- Work the butter into the flour mixture by hand.
- Dissolve honey in the warm water and stir in the yeast.
- When the yeast mixture is foamy add it to the flour.
- Work the flour and water together, first with a spoon, then by hand until you have a ball of dough in the bowl. Add more water or more flour bit by bit to make a fairly sticky dough.
- When the dough is formed, cover it and leave it in a warm place for 1-2 hours or until the dough has doubled in size.
- Punch down the dough and knead it for 3-5 minutes in the bowl, then cover it and let it rise again for 1-2 hours.
- Preheat oven to 350 degrees and butter a 9″ x 13″ loaf pan.
- Punch down the dough and form a loaf. Put it top side down in the pan and then flip it over so the whole loaf is buttered.
- Allow to rise 30-45 minutes, then bake for about 30 minutes. Let your nose tell you when it’s done. It should sound hollow if you give it a tap.
- Turn it out of the loaf pan and let it cool before slicing.
