Create Vibrant Valentine’s Hearts with Tissue Paper
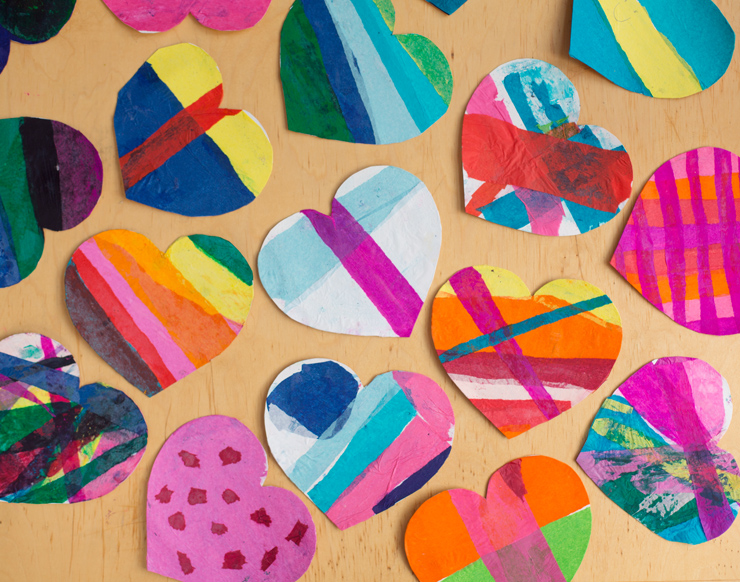
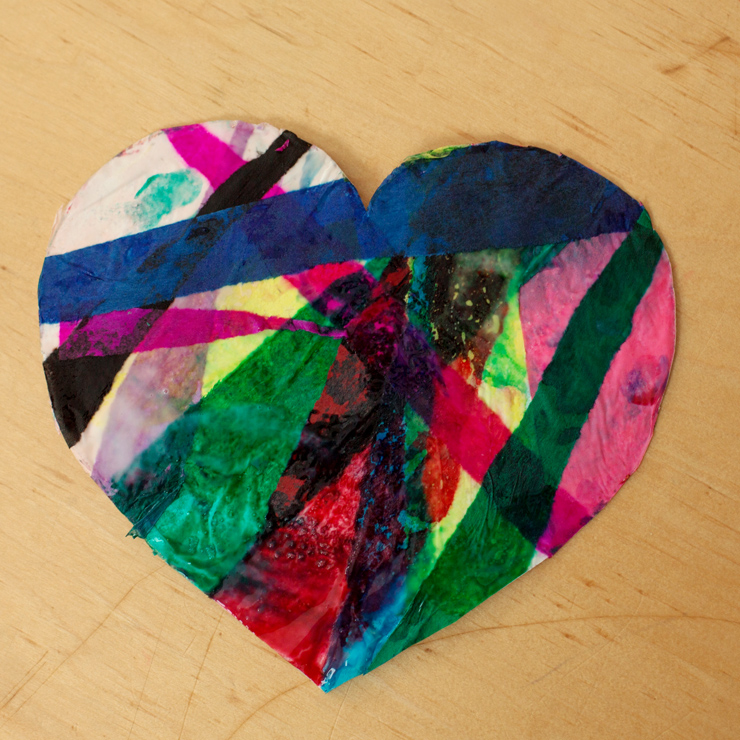
Bright and cheerful, these Valentine cards are great fun for kids to make and receive! Each one is so different from the next—try them as an alternative to store-bought cards. The back of the card is blank and can be inscribed with a Valentine message.
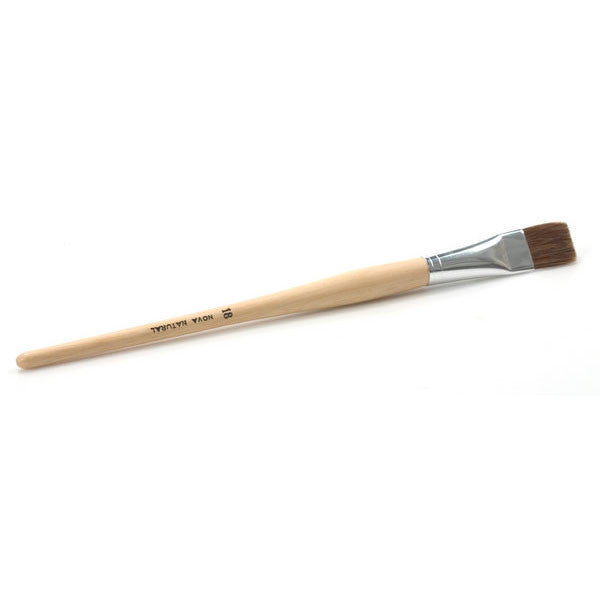
Materials: You’ll need bleeding Art Tissue Paper, Hemp Watercolor Paper (or other heavyweight paper or card stock), white glue, a paintbrush, a small dish or lid to put the glue in, scissors, and a Tissue Paper Heart template. The process is a bit messy (the color will bleed from the the tissue paper) so you may want to protect your tabletop before you begin.
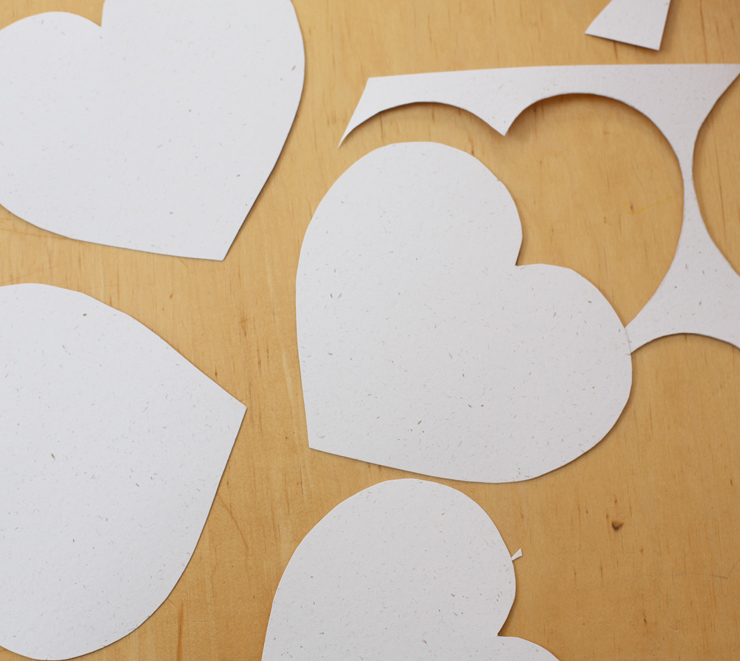
Cut out the paper heart from the template and lay it on a sheet of Watercolor Paper (or other thick, absorbent paper). Trace around it, then cut it out. Repeat. Try to get a nice stack of hearts before you begin so you can keep up with demand later on.
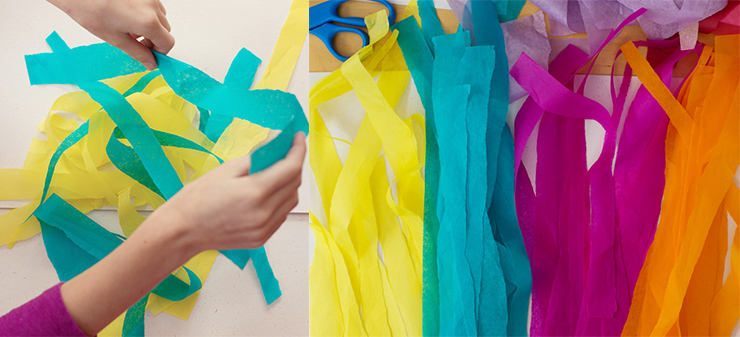
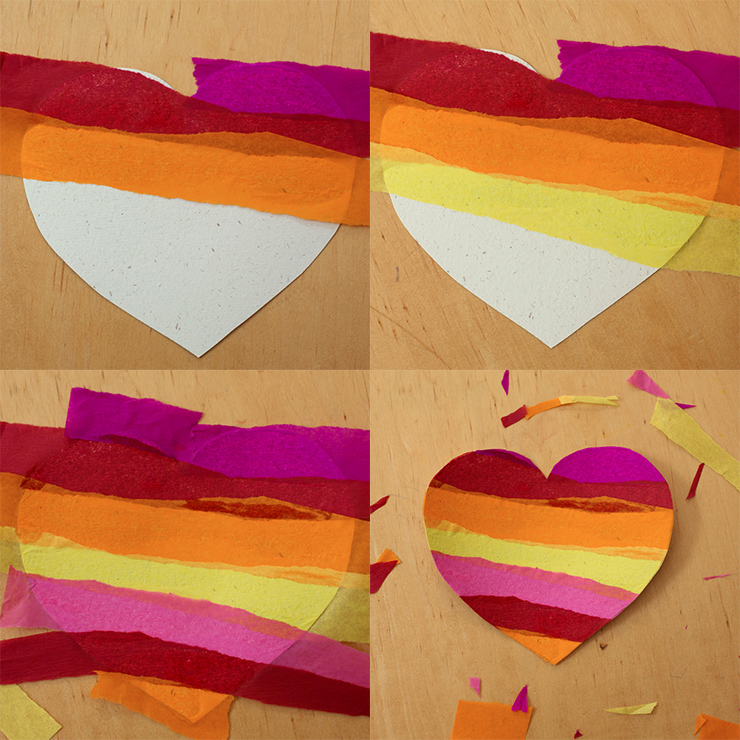
The next step is a popular one with younger kids. Rip the tissue paper into strips. Don’t worry about getting them even, you’ll be able to fine-tune them later on.
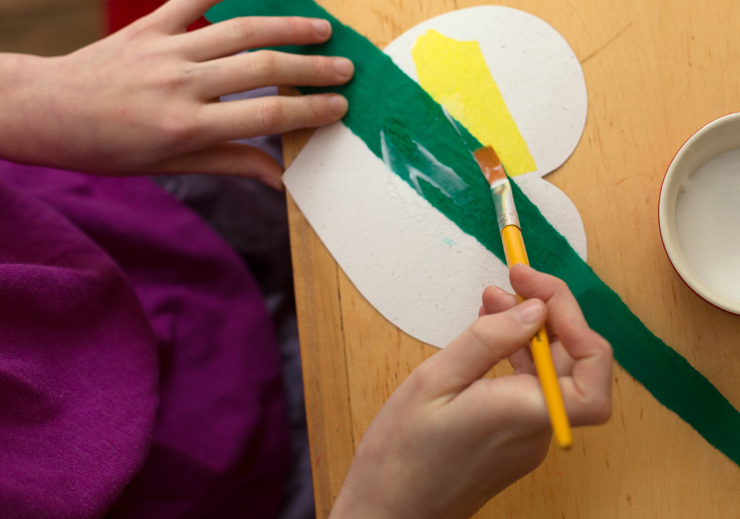
Squeeze some glue into your dish and get your paintbrush ready: it’s time to create your design! There are two methods of getting the tissue paper onto the heart. You may lay strips down and then paint over them with glue, which will cause the colors to blend. It’s okay if the tissue strips hang over the edge of the heart; you’ll trim them off later.
With this method, the cards will be very wet when you’re done, so you’ll need a safe place to let them dry. You can trim the excess tissue paper now, or wait until the glue dries a bit first (which won’t gum up the scissors as much).
The strips can be ripped into tiny pieces for fine details, and larger pieces may be laid down first as a background. Try rainbows, stripes, polka dots, flowers, or abstract designs.
The second method is to paint a thin layer of glue onto the card, then lay a strip of paper down on top, repeating until the heart is covered. The colors won’t bleed as much and the tissue paper won’t pucker and wrinkle as much, creating a smoother card. Either way, when the card is done and dry, you’ll inevitably find some of the tissue paper has not adhered. With a little bit of glue on your paintbrush, you can gently brush over these pieces to stick them down. And lastly, the cards tend to curl up from all the moisture. Once they’re completely dry, press them flat by putting them between the pages of a large book and then adding weight on top. They should be nice and flat by the next day. Don’t forget to write a Valentine’s message on the back!






February 1, 2015 @ 8:11 pm
Great project. What a wonderful idea with the bleeding tissue!
February 5, 2015 @ 1:59 pm
with younger children it may be easier to have them tissue paper the entire sheet of paper and for the adult to go back and cut hearts out later. love the idea though going to try this with my 2.5 year old!
Valentine Cards – sandbox playspace
February 7, 2017 @ 11:34 pm
[…] glue and tissue paper with this sweet craft from Nova Natural. If you can’t join us, here are the directions to make it at […]