Assembling the Rocking Horse
We are very happy to have this beautiful German rocking horse. We have finally found one that ships flat which makes it possible for us to import it. That does mean some assembly is required. This post is to guide you through assembly and we hope it helps make the experience easier.
Tools
- 1 Allen key (included)
- 2 Phillips screwdrivers (you can get away with one, but two will make tightening easier)
- 1 mallet or hammer (be gentle if you use a hammer)
- 1 pair of scissors
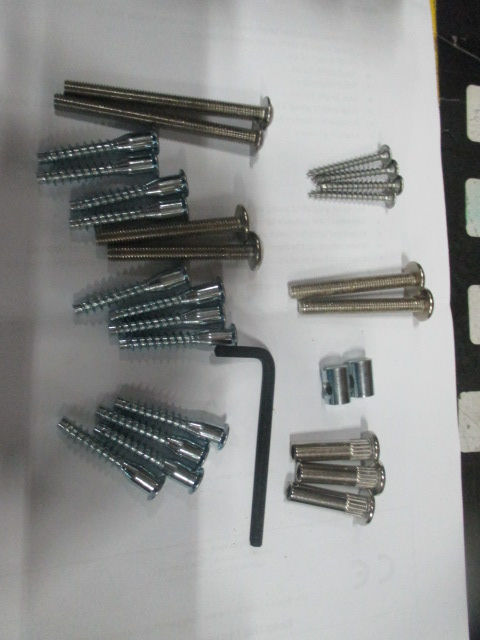
We recommend laying out the parts and putting the correct hardware with each part, as we have shown in most pictures.
Assemble the body
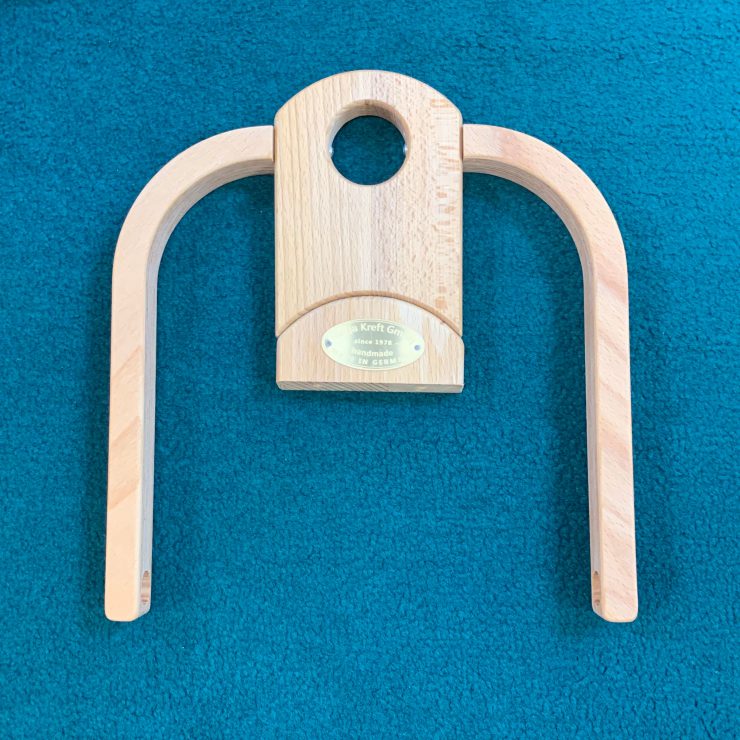
- Start with the head/forefoot piece
- Use the mallet to tap the shorter dowel into the lower hole of the head/forefoot piece. This will be a tight fit, so be gentle, but persistent.
- Use one of the small woodscrews to reinforce the placement of the footrest.
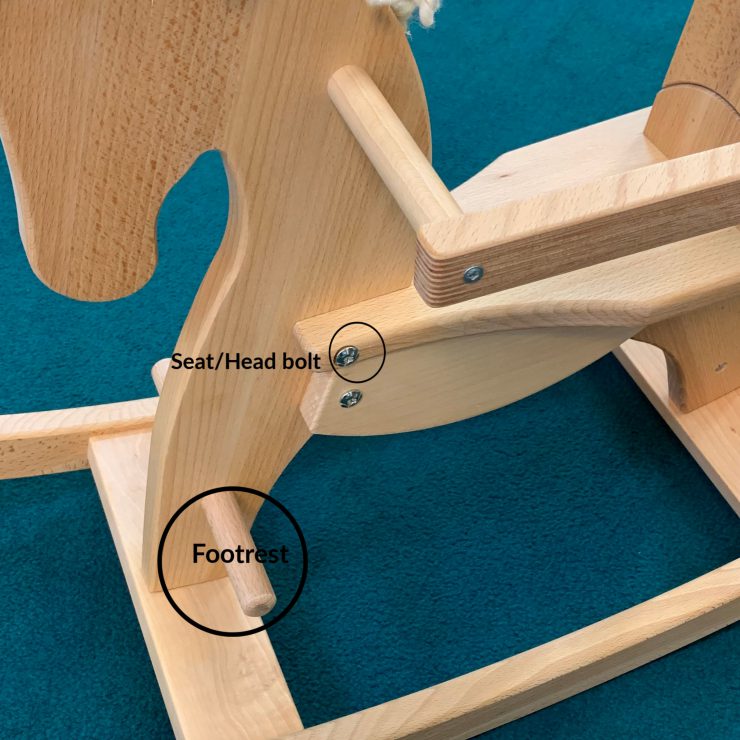
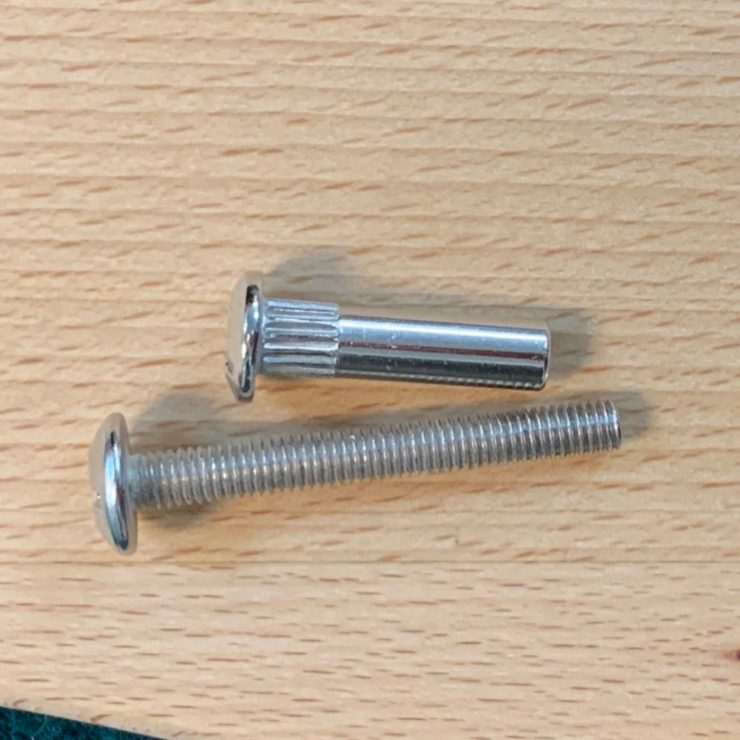
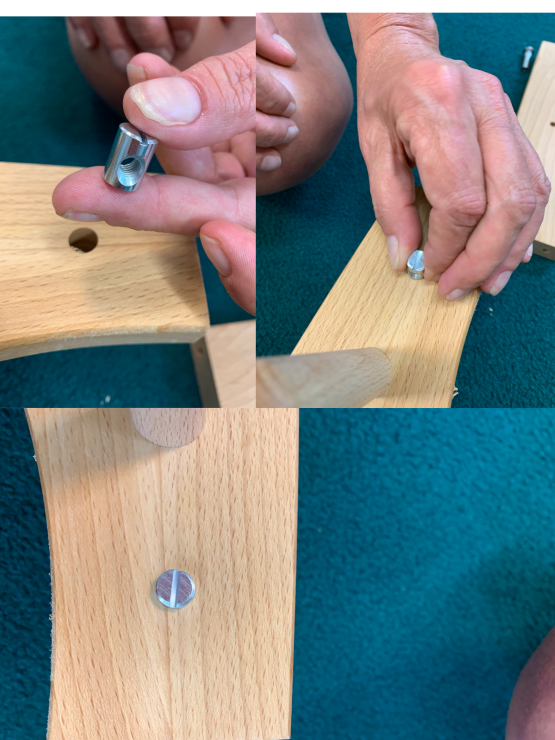
- Use one of the bolt + sleeve pieces to attach the narrower part of the seat to the highest bolt-sized hole on the head.
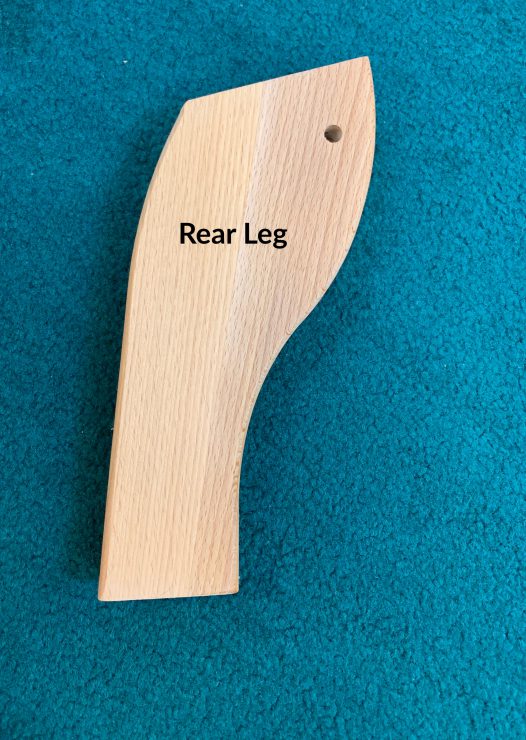
- Take the rear leg and use two countersunk bolts to attach it to the rear part of the seat.
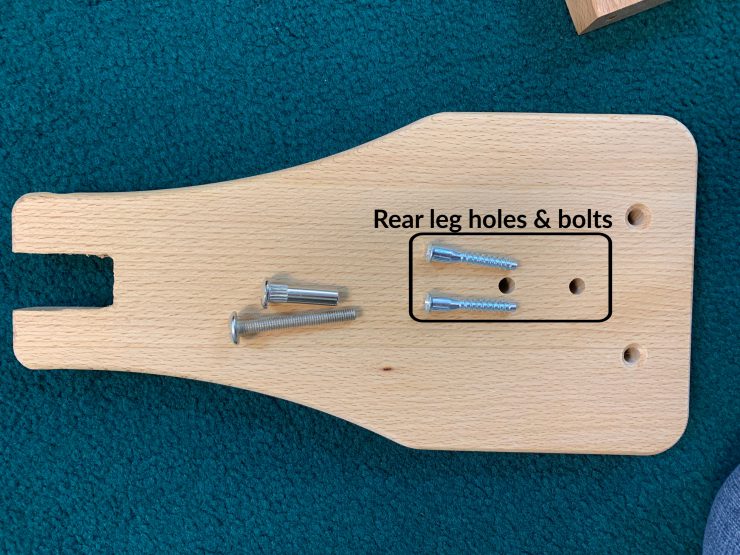
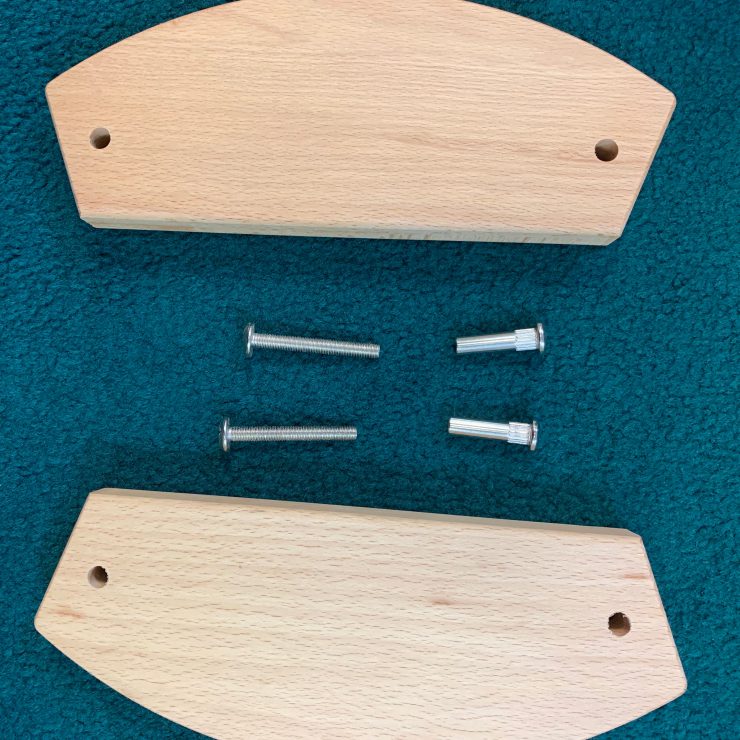
- Take the two curved seat support piece and fasten them to the front and back leg beneath the seat.
- The straight edge of these pieces will be touching the underside of the seat.
- A single bolt and sleeve will fasten the pieces to one another through the pre-drilled holes on each of the legs.
Assemble the Rockers
- Fasten the two cross-pieces to the two rockers using the same type of countersunk bolts used above.

- Insert the cross-threaded bolts into the front and back legs of the horse body.
- Use your screwdriver to turn these bolts so that they can be connected to the crosspieces.
- Insert the longest bolts from beneath the crosspieces and into each of the legs such that they intersect the cross-threaded bolts. Tighten these long bolts, thus securing the body of the horse to the rockers.
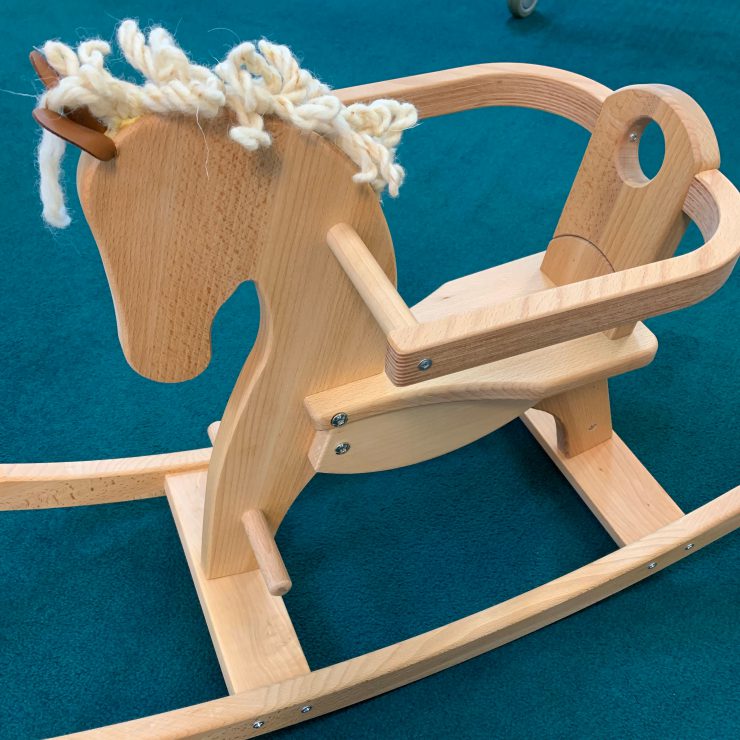
Attach the Backrest and Safety Bar
- Gently, but firmly, tap the handlebar (the longer of the two dowels) into the hole just beneath the horse’s mane.
- Use one of the wood screws to secure the handlebar in place.
- Use the countersunk bolts to fasten the backrest to the back edge of the seat. Make sure the cutouts in the “arms” of the safety guard are fitted over each end of the handlebar.
- Use woodscrews to secure the safety guard to the handlebar.
- Use scissors to cut and groom the mane as you wish.
- Place the rocking horse on a level surface and be sure all the bolts and screws are well-tightened.
- Giddyup!
Troubleshooting
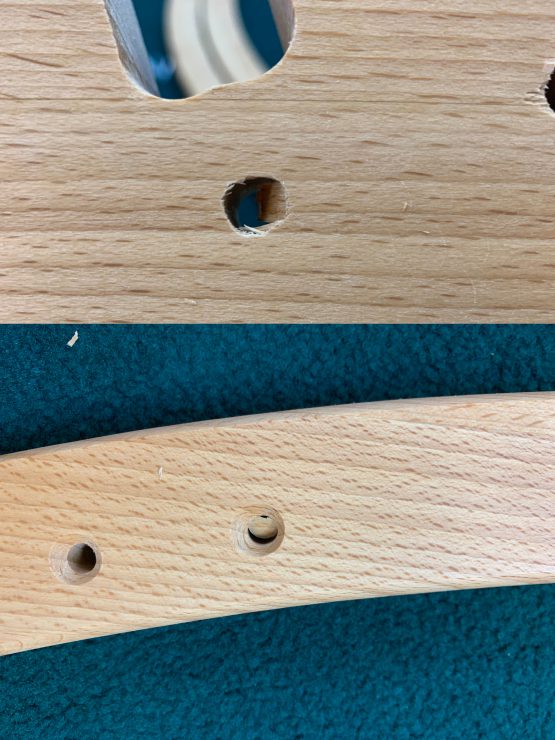
- Some of the predrilled holes may not go completely through the wood. The picture below shows one that we tapped very gently from the cut side with a screwdriver and one we pushed through from the uncut side. It was easy to do once we realized how thin the material was.