Decorate Ukrainian Pysanky Easter Eggs
This Easter, why not try your hand at the traditional art of Ukrainian pysanky eggs? A special tool called a kistka, which allows you to draw fine lines with hot beeswax, is the secret to making the intricate patterns of pysanky. You’ll empty the eggs first, so they can be brought out each Easter and enjoyed for years to come. In addition to our Simple Ukrainian Egg Decorating Kit, you’ll need uncooked eggs (white eggs will give you the best results), jars to hold the dyes, vinegar, and a candle. This is a good activity for kids aged seven and up, with adult supervision. The book included in the kit, A Kid’s Guide to Decorating Ukrainian Easter Eggs, gives clear guidelines and detailed instructions on the whole process. Here’s the general idea:
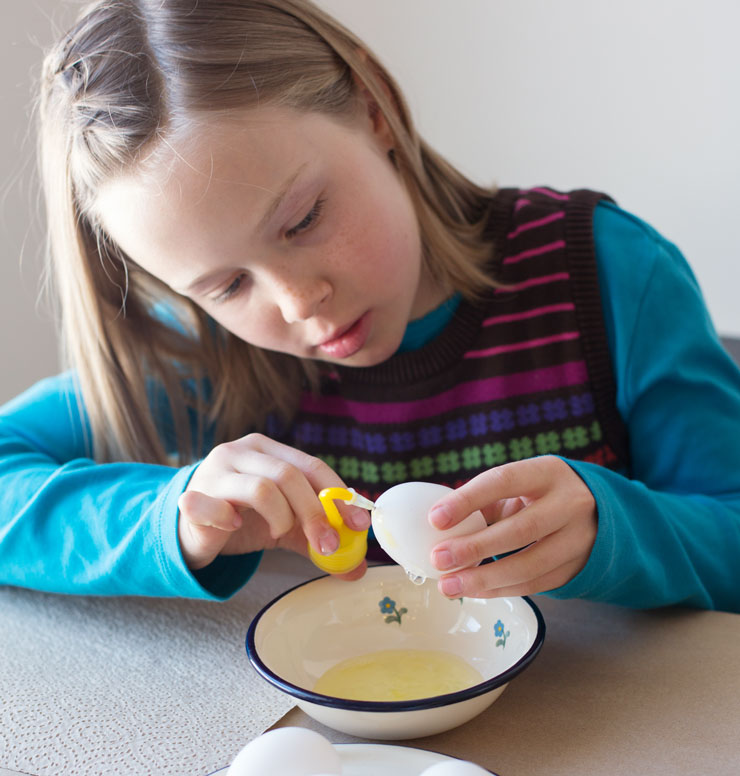
After mixing the dyes (parents will want to do this step as it involves boiling water), gather your eggs and some paper towels or rags for clean-up and table protection. Using a needle or the pricker included with the egg blower, poke a hole at the top of an egg. Use the egg blower to pump air into the egg, which will push the contents of the egg out. You can also empty the egg after decorating, but it will need to be varnished first to keep the dyes from running.
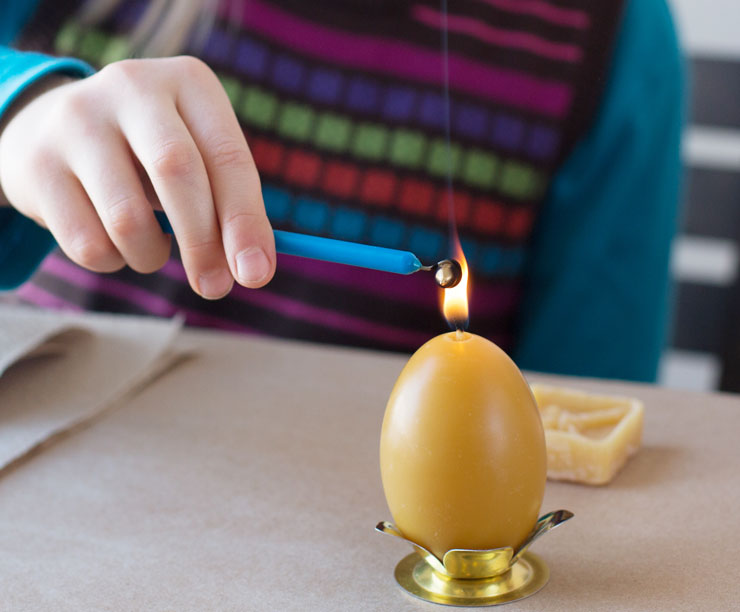
Warm the kistka by placing it directly in the candle’s flame for several seconds.
You’ll now be able to scoop some beeswax into the kistka. Return the kistka to the flame for a few more seconds to warm up the beeswax until it’s liquid.
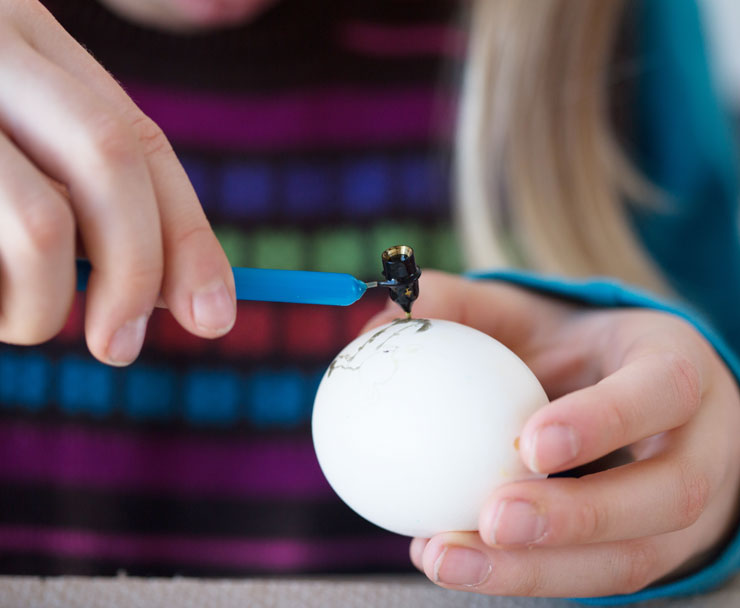
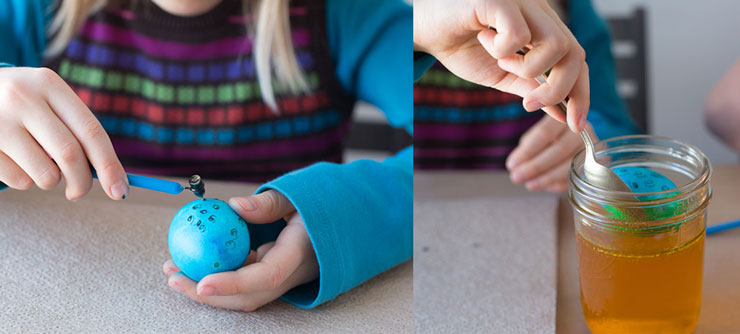
Start drawing your design. If you’re creating a traditional Ukrainian design, you’ll follow along with the steps in the book (and most likely you’ll have made pencil markings to follow). For younger kids, it might be easier to try a free-form or abstract design first as it can take a while to get the hang of drawing straight lines. Remember that everything you cover with wax at this point will be white in your final design.
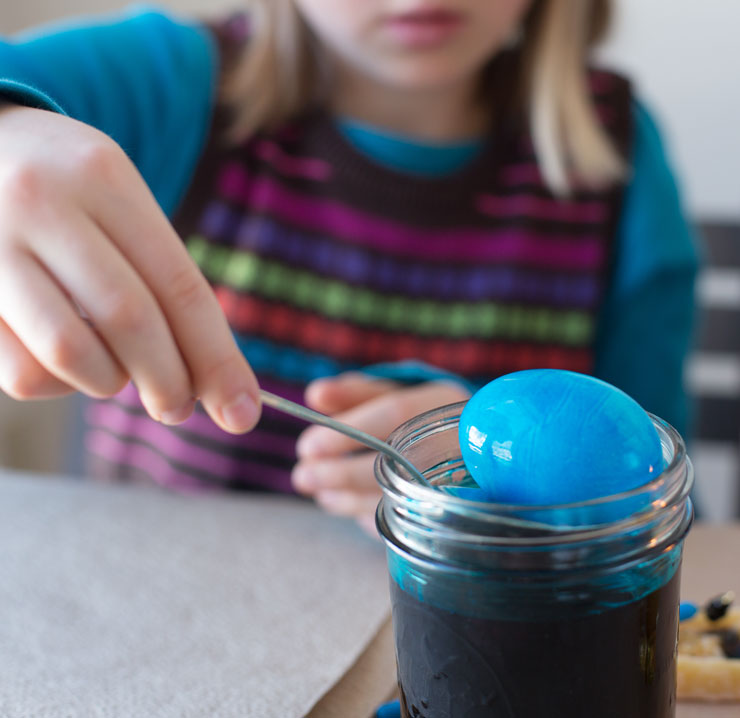
Dye your egg with the first color. It’s best to start with lighter colors and work your way toward the darker ones.
Continue to add to your design with the kistka tool, refilling it with wax as needed. With each subsequent dye color, you’re adding another layer to your design: think of the wax as sealing in the color you’re drawing over. Dye, pat dry, and repeat this process until your design is finished.
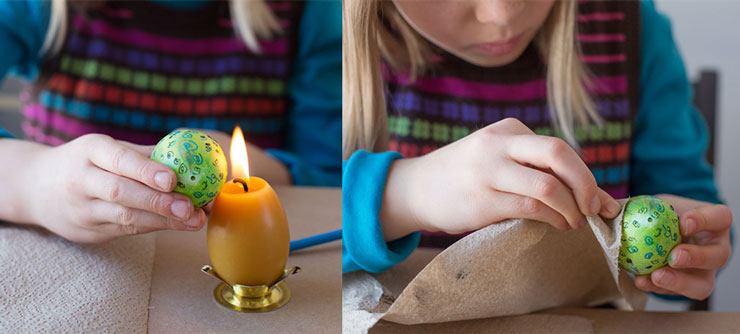
The last step is to remove all the wax. Warm the wax by holding your egg near the flame for a few seconds, then wipe it off with a cloth or paper towel to reveal the finished egg.
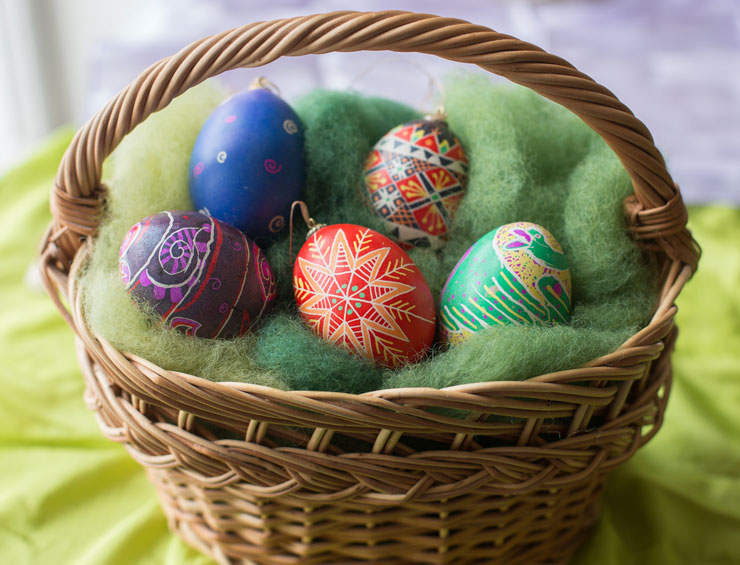
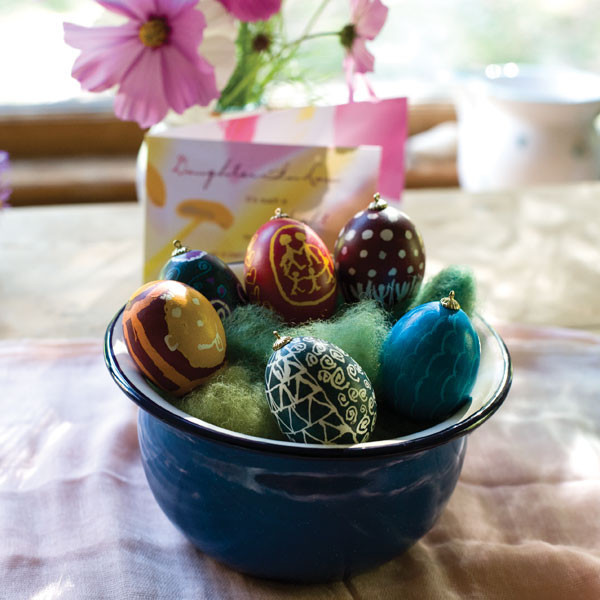
You’ll be so pleased with the finished product you’re going to want to display your eggs for all to see. Pop some of our natural easter grass fleece into your favorite vessel or add egg hangers and you’re ready to show them off!
Happy Spring!

